Search This BlogRustic furniture

24 July 2020

Woody Runabout Phase 22

Now confident of getting waterborne in early August.

Linking the control lines through the rear bulkhead, attaching the windscreen and cleats, then a couple more coats of varnishing to do. 

Having set myself many little design features and cosmetic titivation's on this classic style small boat project,  the road to completion has taken many more hours than originally anticipated. The windscreen has four brackets that each required  individual fashioning and fitting with associated under-deck strengthening points for their attachment. The screen is detachable for the eventual maintenance of the hull, when she will have to be turned over.

The seat backs are laminated out of Ash and tennis racket shape,  strung ready for fixing to the bench seat. So the finished result will be quite unique.  A flight of fancy, where the design has evolved en-route.

The decks are surfaced in clear Epoxy Resin ready for topping off and finishing with  Epiphanes varnish. A real buzz reward to enjoy after the 800 hour project begun in January.

The road trailer will require some adjustment, together with the addition of support rails alongside the roller supports.

Almost ready for the water


Two or three more coats of varnish but no more than five


Waterline beam width should give ample stability


The seats are ultra lightweight but quite strong


7 July 2020

Woody Runabout Phase 21

Tired of waiting for my local wood supplier to dig out some Sycamore I chose to look further afield. Within easy reach (45 miles up the A303) I discovered Yandles wood merchants (Link) tool shop and craft centre. Not only was their self selection department open, the variety of woods is amazing and the prices significantly lower than I have been used to paying in Exeter.

I came away having spent more cash than I needed to complete the boat. Some too good to overlook that will come in handy for later projects. The Sycamore plank freshly cut from the tree is complete with waney edges. The creamy white texture is easily worked and will soon take on a golden honey colour, once varnished and exposed to the light.

The gunnels are in place, plugged with dowels into the holes that were the ones made by screwing temporary fixings, while the epoxy glue set. The epoxy was thickened to make it adhere better to the vertical surfaces. Also attended to is the motor well edges that have the lovely white contrasting wood enhance the appearance of this design.  A cosmetic indulgence to spend so much time at this stage.
The  35 fixing dowels/plugs whittled down individually and laborious but satisfying.

Now using Abranet, an open abrasive fabric that does not clog like sandpaper does.  I do recommend  it to any woodworker. Also recommended is diamond abrasive sharpening stones that put a keen edge on steel with the minimum of effort.


On the to do list :....  fit windscreen and cleats (after the deck is varnished) . Box in the batteries and switch gear. Run control cables through rear bulkhead. Fit seal to base of motor well.  Fabricate and fit front seat backrests. Fit support rails to road trailer. 

Grey tinted screen dry fitted to be supported each side by an additional pair of knees


29 June 2020

Woody Runabout Phase 20

Decking now complete apart from rounding  off the deck edges. A light coloured wood to show off the lines to best advantage is being sourced. Sycamore the first choice if I can find some straight grained and clean. The tinted grey acrylic windscreen has been ordered from a local plastics company and will be made to slot into support knees and a scuttle batten laid on the deck. 

The gunnels like many other parts were screwed while the glue set and the screws later removed to be replaced with wooden dowels. Being somewhat obsessive about some of the minor details you might say that this build has been an indulgence. I see it more of an enjoyment and pleasurable pastime.

Connecting up the controls including the steering cable together with electrics will be the next job. The Honda outboard then to be tested by the outboard motor shop as part of their PDI check and my electrics installation double checked. 

Only then shall I shall be ready to launch with the road trailer adjusted to fit the hull.  A couple more roller supports required to take the load from closer to the transom.

As the project comes near completion you may be interested to know that somewhere in the region of 750 hours has been spent. The design has  deviated along the road from the three or four sheets of A4 sketches and a more pleasing deck line emerged more by accident than design. If you asked me for the plans I would have to get one of those laser 3D scanner devices to accurately measure her up. Appearances are a little deceptive from the photos here. There are very few straight lines or flat areas. Wearing glasses, as I do for close up work , the shapes can somehow get distorted too, and I often found myself looking down a piece of straight wood only for it to appear to have a pronounced bend to one side or the other. 

Waiting for some Sycamore white wood to trim the edges


Hardwood cleats not yet screwed down


After varnishing the Mahogany will take on a richer and darker tone


Looking forward to adding the grey tinted windscreen


17 June 2020

Grandads Woody Runabout phase 19

Wiring and the few instruments for the dashboard now installed, and the tie down straps for the two batteries are placed between the seats.  Using a voltage sensitive relay the charge is sent to the battery most in need of power input. The start battery should therefore not run flat - With so few instruments and no hi-fi or inverter or navigation lights, having two batteries was probably not strictly necessary.

The decking stage is about to begin, when the final shape of this woody runabout will emerge.  Mahogany veneering of the ply deck will finish off the "woody" look of this classic shaped runabout. The low profile windscreen will then be fitted and cleats of carved Wenga, an African wood with especially hard wearing characteristics, placed along the gunnels.

The transom is capped with an up-cycled old Hickory sail batten. A tough hardwood ideal for the location, where the weight of the engine will bear down on the transom. The actual points of contact are to be cushioned by a layer of shoe leather under stainless steel cladding.

The seat backrests will consists of a hooped backrest attached to the bench seat by a knee on either side. The hoop will be laced.  Each knee is constructed of two parts with their grain running at right angles. The joint is a simple scarf, but skewed 45 degrees. The glued up assembly is clamped while the glue dries and a row of drilled holes is placed and nailed through with bamboo dowels. A  very strong joint results - where my body weight will be leaning back into the seat.

Going to such trouble with detail aspects might seem unnecessary, but gives enormous pleasure.  I shall have spent about 800 hours since January, At that time I was wearing two jumpers and a woolly hat in the chilly unheated garage.  

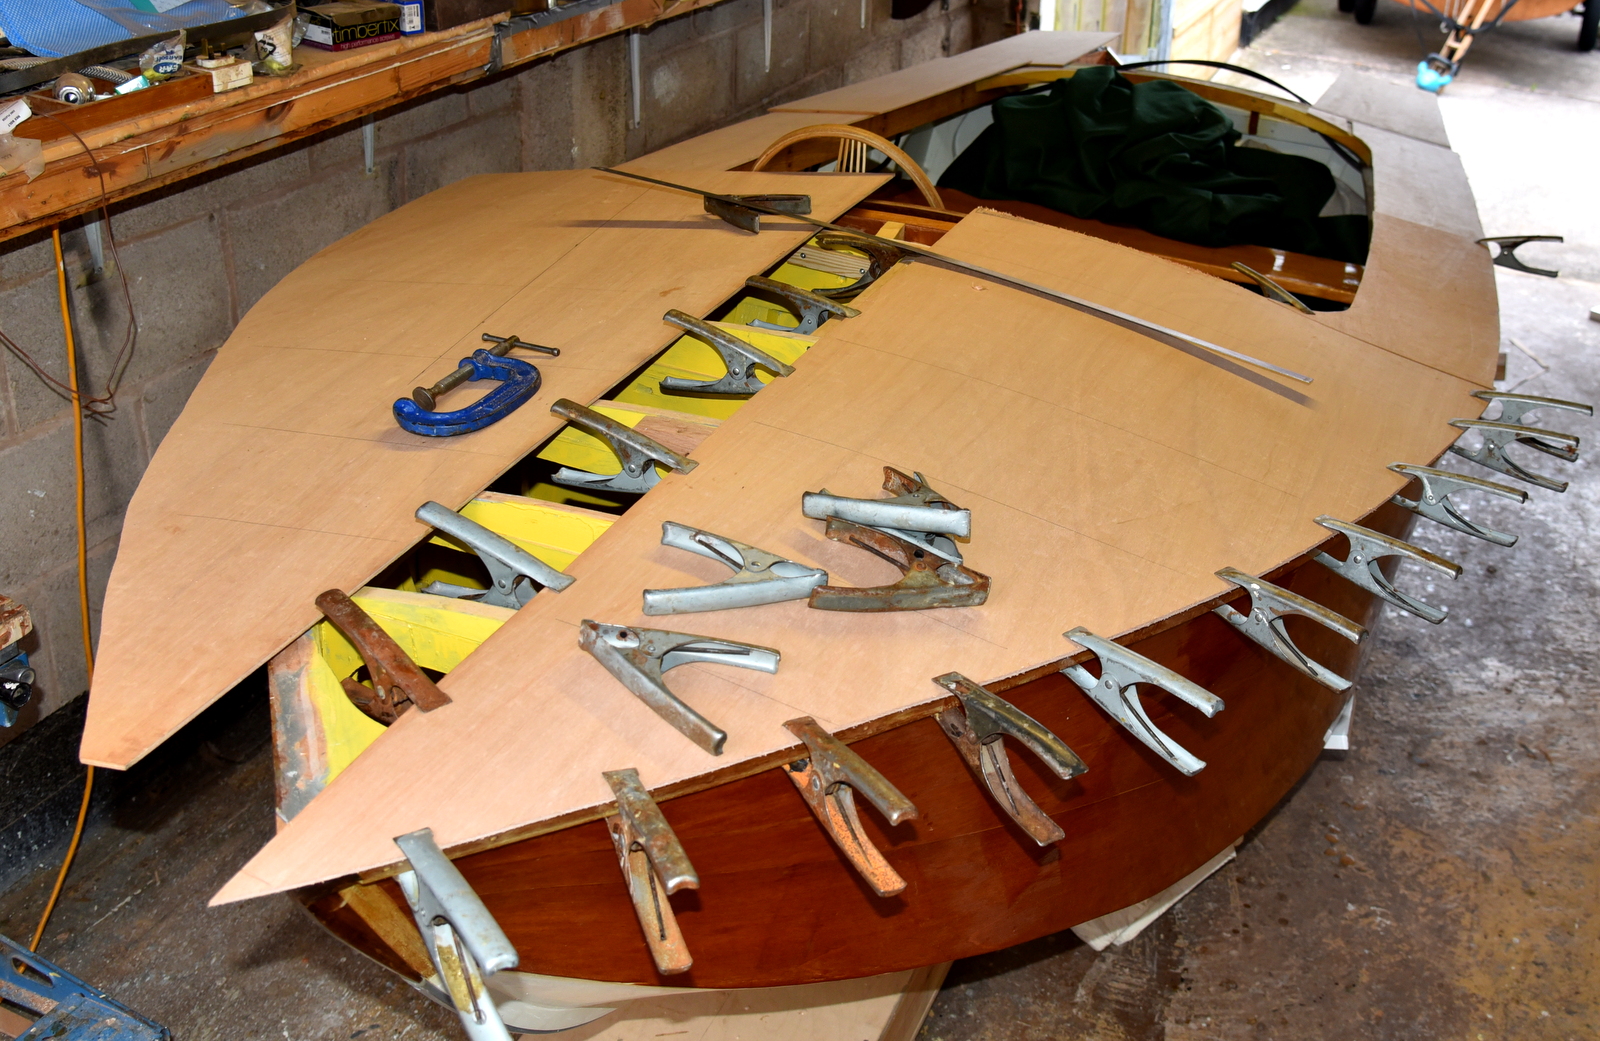
The following photos show the deck panels roughly prepared with the scarf joints cut. They will be stapled and clamped in place, the difference being the glue. At this stage I am setting aside the Cascamite, preferring to use Epoxy Resin. for greater resilience. A sealing coat will be applied to the underside of the deck  panels and a thickened layer of resin applied to the frames and gunnel.


The 5mm marine ply deck panels have their mating edges scarf jointed together (bevel edged)


6 June 2020

Boatbuilding - Like baking a bun or a biscuit Phase 18

Study the recipe, get the ingredients together, mix thoroughly and put in the oven (man cave/garage).
Allow to cool and apply a glaze of sugar, egg and dust over (varnish) with a soft brush.
Such is the chaotic appearance of the boat today I must admit it looks neither like a boat, a bun, or a biscuit.
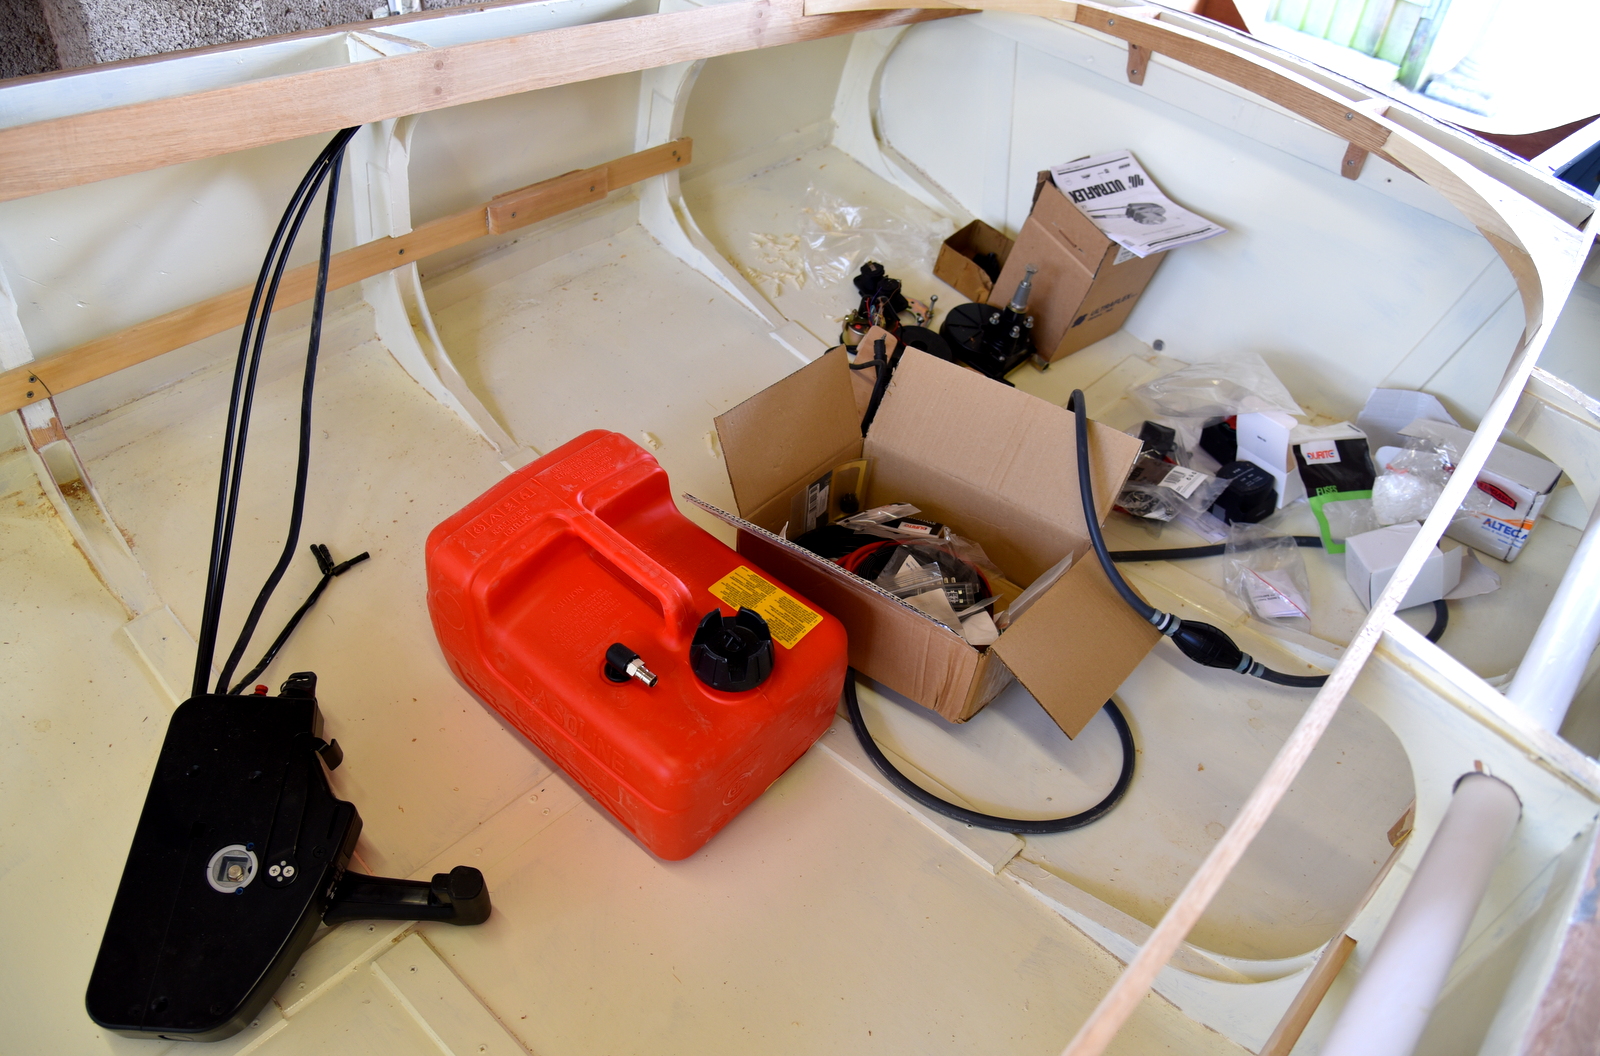
What you see scattered about are electrical items, disassembled bits and pieces, vital parts of hardware and the Honda outboard not yet filled with engine oil or checked over.
Once the job is done and put together I am scheduled to take the lot to Bridger Marine for them to check out my electrics and do the pre-delivery checks on the engine.
So many cables and wires to route and hide from view.
The woodwork is almost done bar the seat backs and cutting the centre slot in the steering-wheel hub that must engage accurately into the Teleflex steering mechanism. The steering wheel itself has bamboo spokes and steam bent laminated outer ring and is my well tested design. Identical to the other one on the Morgan 4/4.